Backyard chickens are a great way to have sustainable, fresh eggs and some new fun pets. Not only that, but you can somewhat significantly cut down on your food waste by giving your leftovers to the new chickens! If you’re new to chicken keeping and need to know the basics then this guide is for you. It will walk you through keeping chickens step by step, from baby chicks to full-grown hens.
Before you get too excited though make sure to check your local laws for any limits on the number or if they even allow them in your area. There’s nothing worse than getting everything set up and raising your little chicks only to have to get rid of them because of your local law you didn’t know about.
1. Why Keep Chickens?
The main reason to keep chickens of course is for “free” eggs! Although the eggs will be a bit healthier (more omega 3 fats) and have a slightly richer taste the fresh eggs aren’t the only reason you might consider having chickens.
Chickens poop a lot. Yes it can be disgusting, but you can also harness that poop power by composting it and turning it into a great fertilizer. The chicken poop combined with a bedding of pine shavings is already a great combination to start compost.
Any area the chickens roam will automatically be lower in bugs, slugs, and other garden pests. We have even found a dead mouse (not rat) inside the coop area down on the ground level. This was before we even had a rooster so we know it was the hens we had at the time that took it out. They’ll attempt to grab any flying insects that go near them out of midair too sometimes.
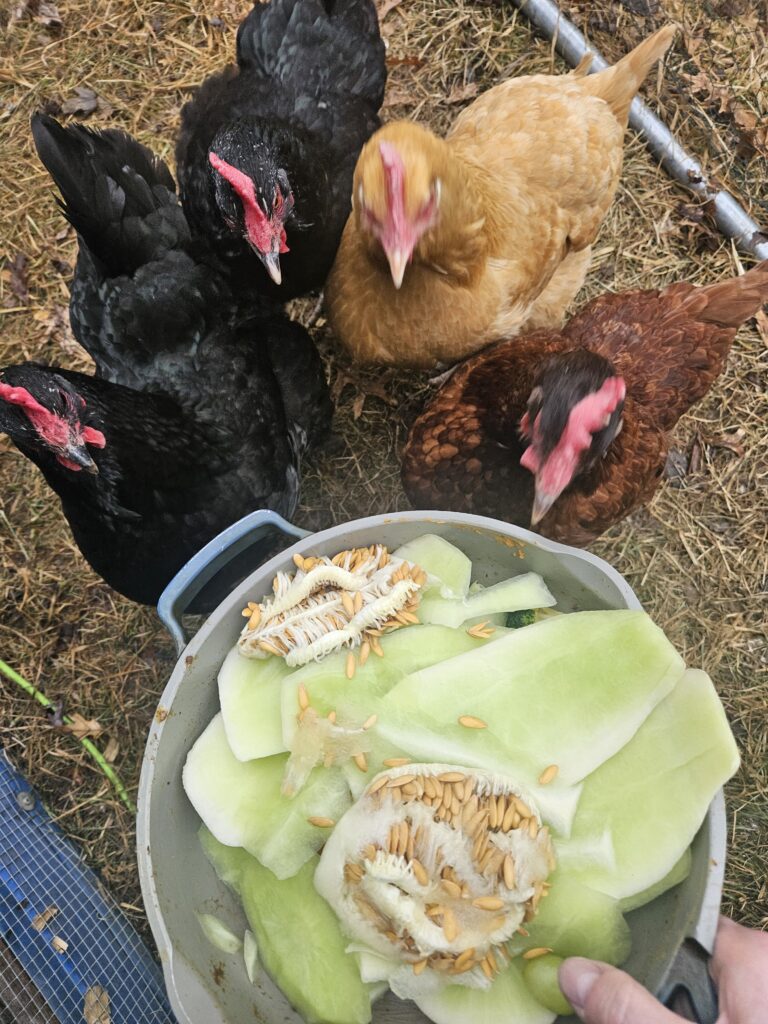
Finally, chickens can actually make a decently entertaining pet. They have different personalities and will usually be happy to see you much like any other pet. They’ll be especially happy to see you if they are used to someone bringing treats and leftovers out!
2. Choosing the Right Chicken Breed
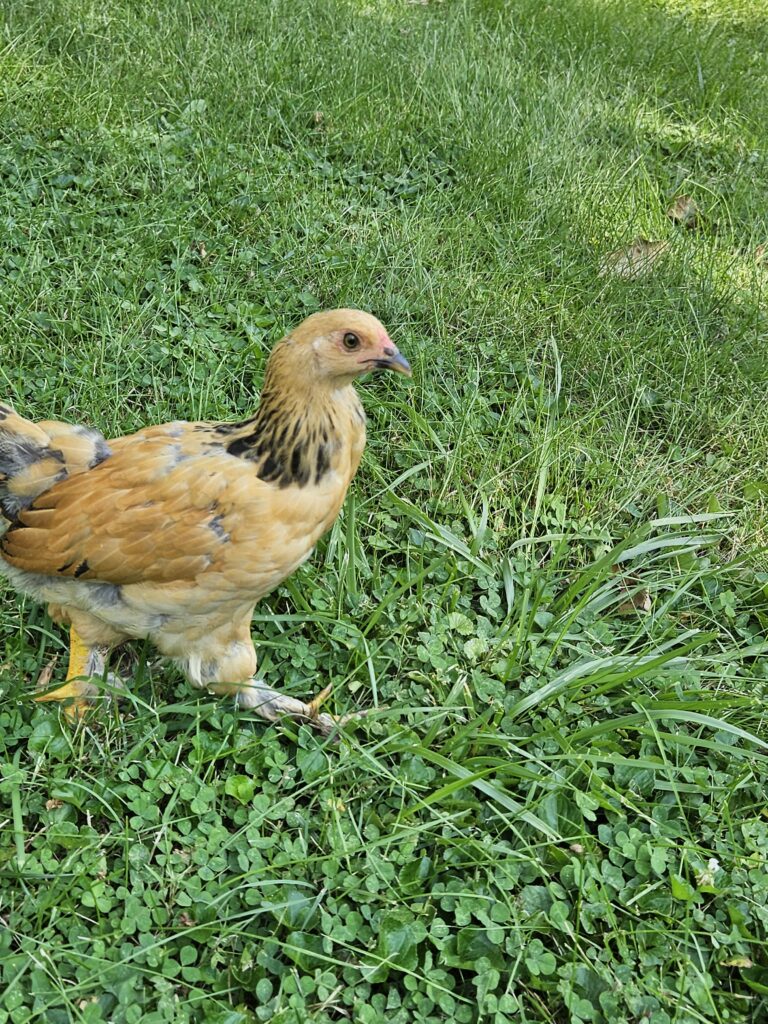
Some breeds are better suited for beginners, egg production, or cold/hot climates. Here are a few great options:
For a more in depth look at the different breeds we have had experience with and would suggest for beginners check out
The Top 10 Chicken Breeds for a New Flock
3. What you Need for Baby Chicks
I know that once you’ve decided you ARE getting chickens it can be super exciting and you’ll want to run out and get (or order) your baby chicks. But wait! You will of course need all the stuff to give those babies a comfy little place to grow up.
Before bringing chicks home, gather these essentials:
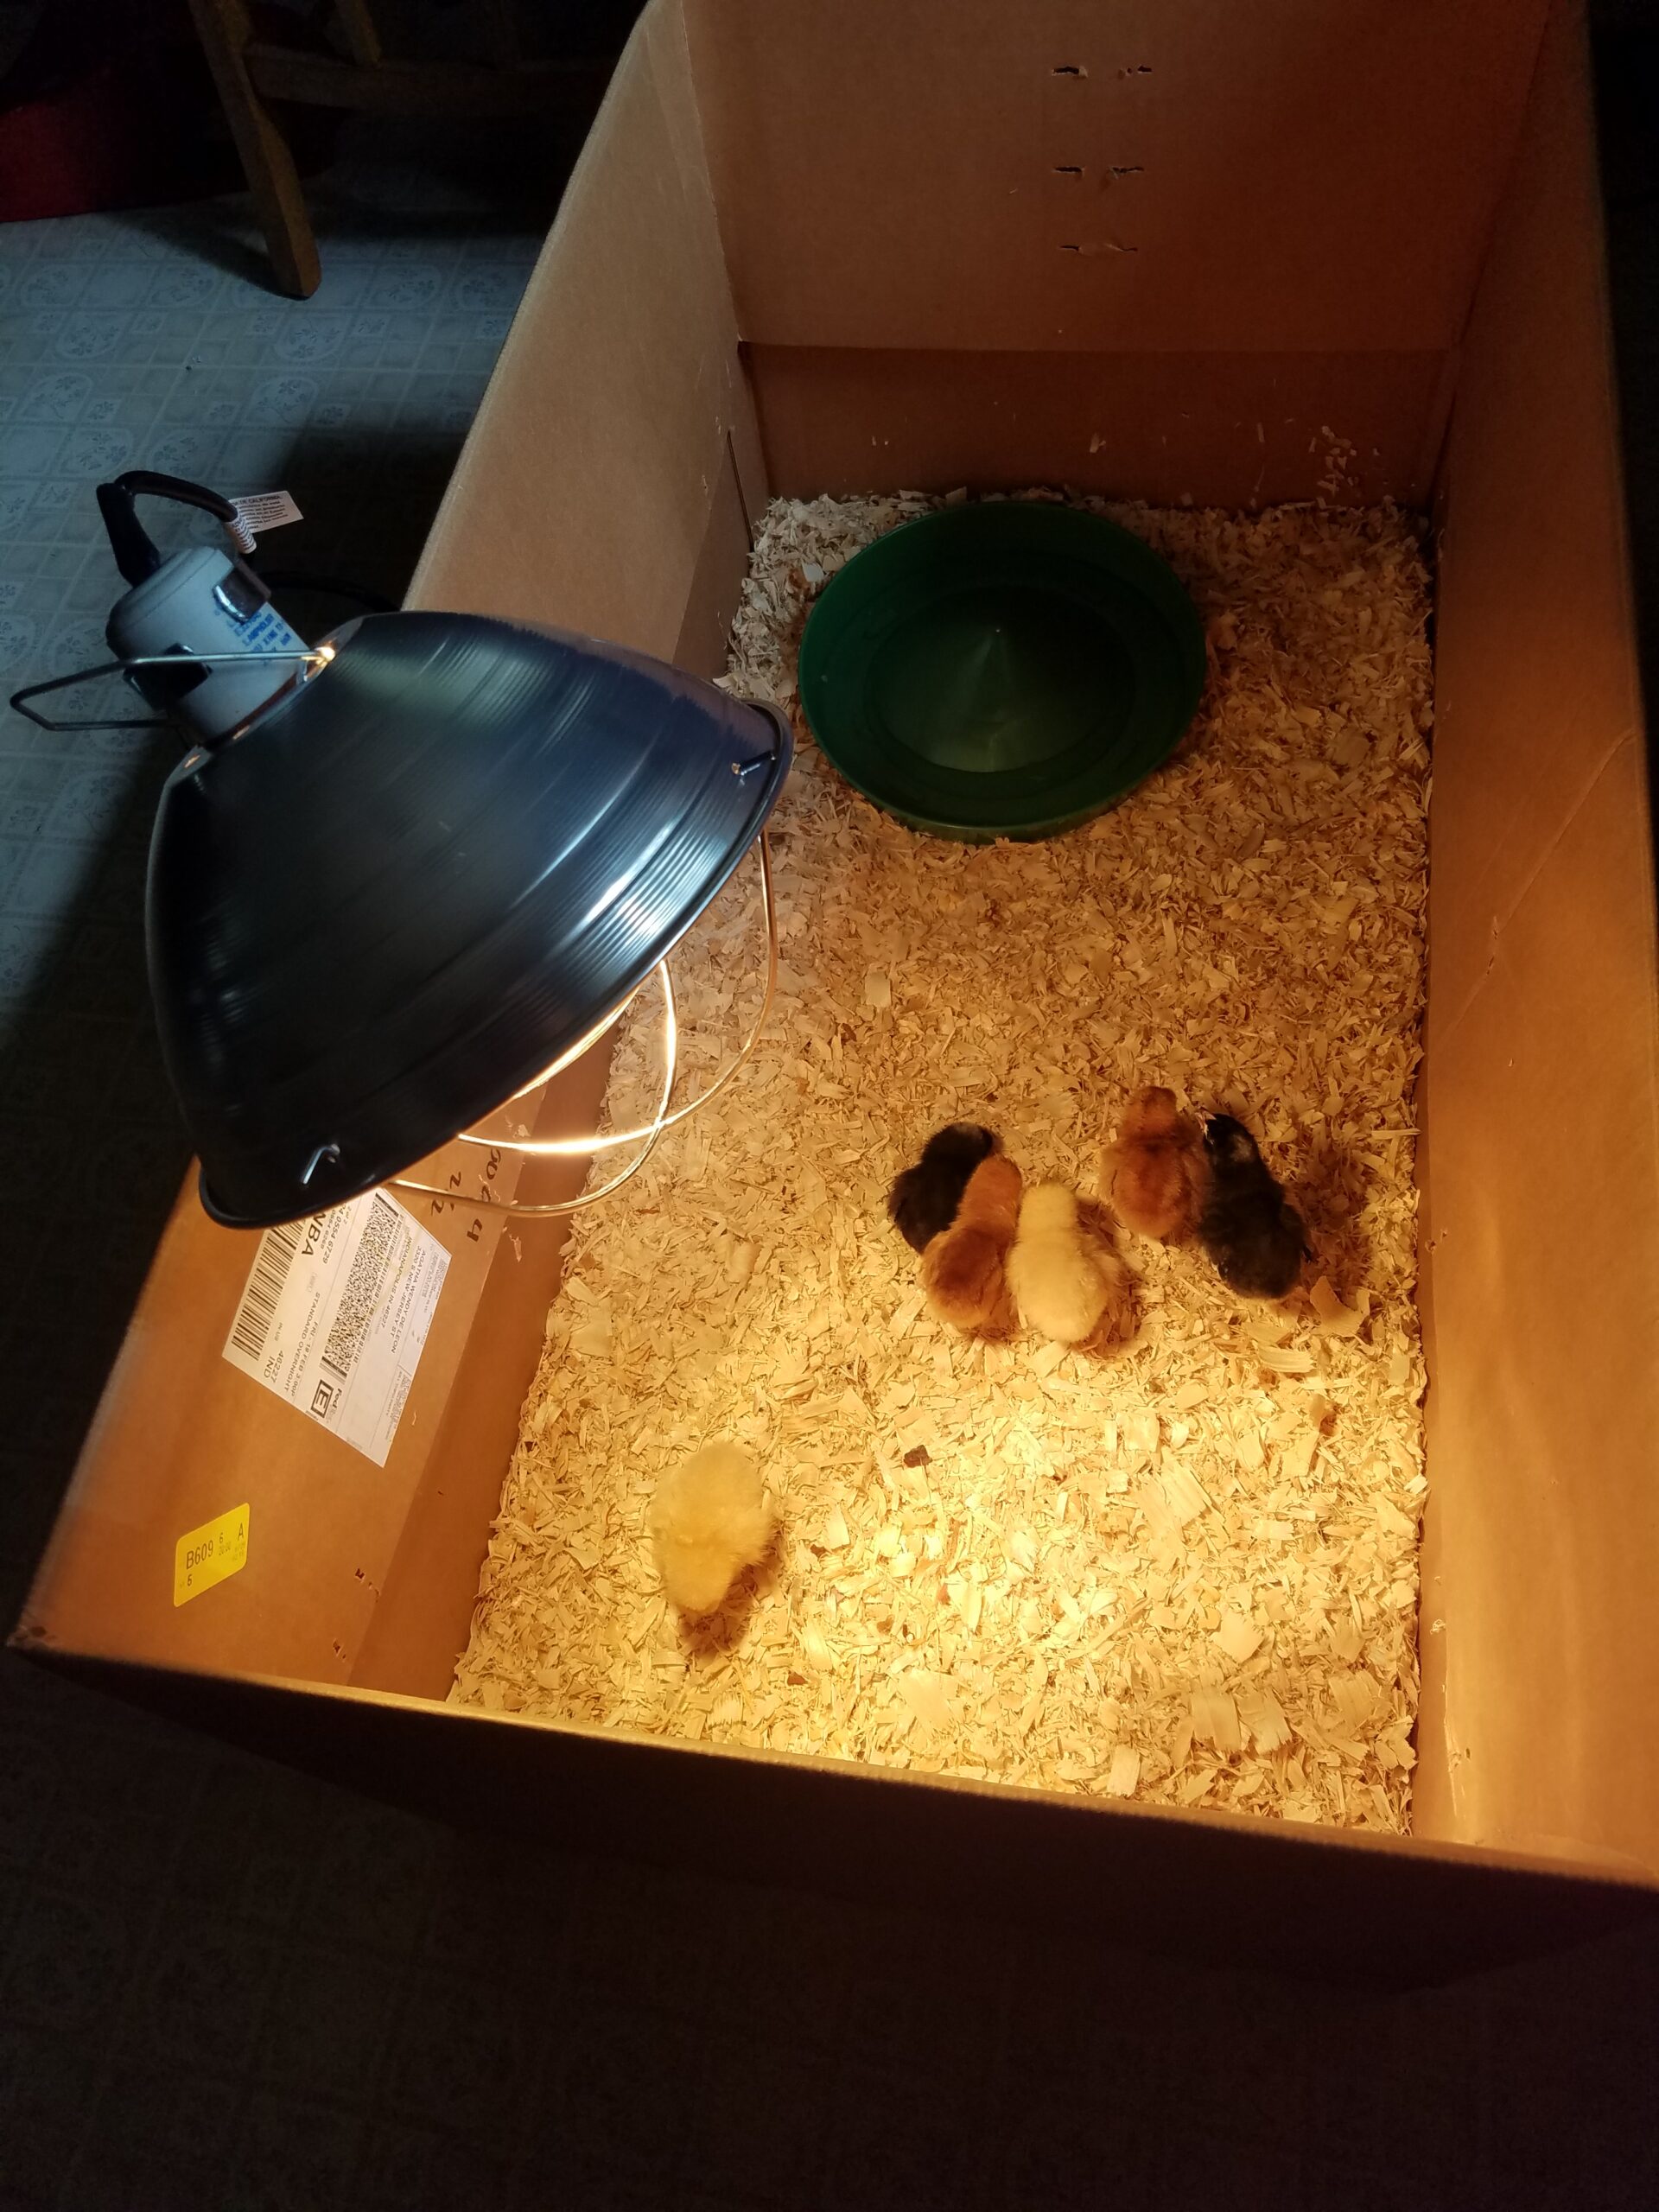
Brooder Box (something to keep them in)
A safe, enclosed area with high walls. We actually used a large cardboard box on a linoleum floor. There is a fire hazard with using cardboard and you need something sturdy enough to clamp a heat lamp to also, so keep that in mind. Also if water gets spilled or the litter isn’t cleaned up the bottom of the box can get wet and soggy and would need to be replaced. A plastic storage tote or galvanized tank would work as well, but would be more expensive. Whatever you choose plan for about ½ a square foot per chick for now.
Another thing to keep in mind is that when the chicks get a little older they will start jumping and even trying to fly out of the box if you don’t make the sides higher or move them into their coop fully. I would recommend 3-4 feet, but they will instinctively want to jump to any high spot they see.
Possible Cost: Free ( for a cardboard box )
Source of Heat (Lamp, Brooder Plate, Ceramic Heater)
Baby chicks don’t have their feathers fully developed to keep themselves warm so they need a source of heat. Usually that source is their Mama Hen, but in this case you’ll have to provide it. You should keep chicks at about 95°F first week and decrease the temperature 5°F each following week.
You can either buy a light fixture with a adjustable output or just simply move the light away from the chicks a little. If you have an avoidable heat source the chicks can also simply move away from it if they get too hot.
Possible Cost: $20 ( Brooder Lamp and Bulb )
Thermometer
To keep track of that heat we just mentioned. A handheld IR point and shoot style thermometer could probably work in a pinch if you don’t have another standard thermometer since you’ll only need to track the temperature for a few weeks.
Possible Cost: Free ( if you have one, otherwise $5 )
Chick Starter/Grower Feed
Your new baby chicks will of course need something to eat! You will want chick starter feed or something made just for baby chicks. Each baby chicken will eat about one pound a week and they should stay on this feed for about the first 20 weeks or so. Hens should start laying at that time and you will need to switch to a laying feed that has extra calcium in it to help them make the eggshells.
Chick Starter/Grower Feed from Chewy

If you have 6 chicks or more I would recommend just buying a 50 lb bag to start. For 6 chicks over almost 17 weeks will end up being 100 lbs of food though.
Possible Cost: About $70 ( 2-3 50 lb bags of Chick Starter/Grower Feed )
Pine shavings
You will also need something to absorb the little chicks poop. Pine shavings are the easiest to deal with in my opinion and create a great start for compost. Don’t use cedar shavings.
You don’t need to make it very deep, just about an inch
Possible Cost: About $8
Food and Water Dish
Another somewhat obvious essential item is something to hold food and water (separately of course!). If you have the space I would consider buying the larger hanging style feeder and waterer because you can use these later on when the chicks are chickens.
Smaller feeders and waterers are available also and then you can modify 5 gallon buckets when the chickens are fully grown.
Possible Cost: $20 ( for the hanging style )
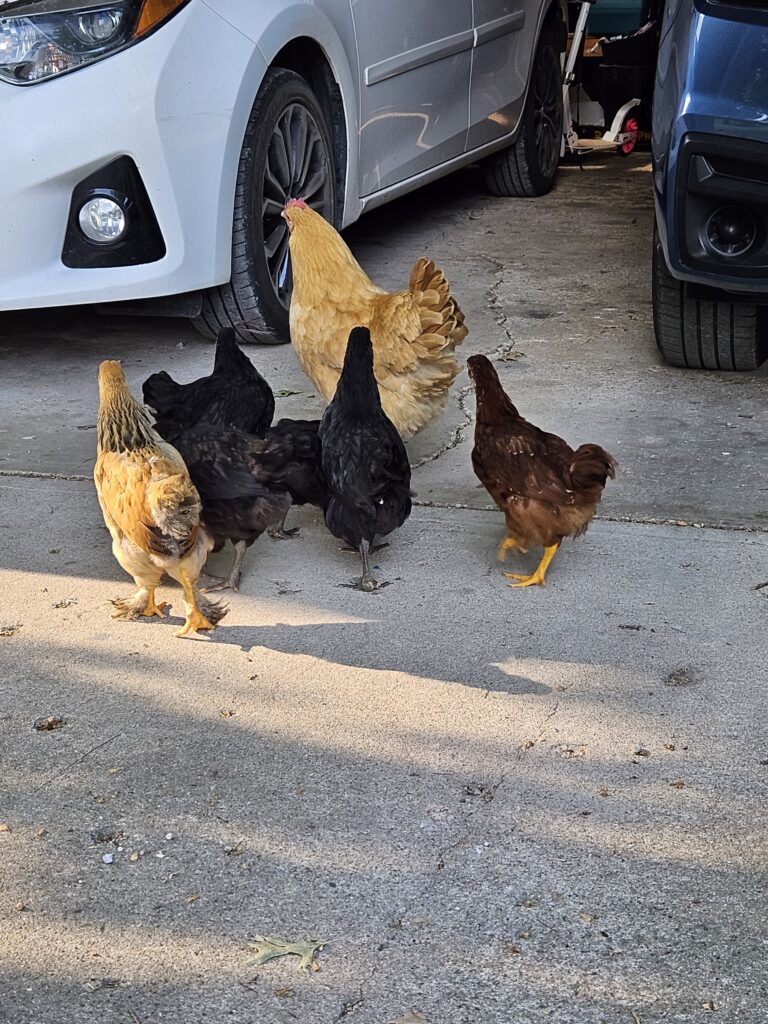
4. Transitioning from Chicks to Chickens
At around 6-8 weeks old, chicks can move outside if the temperature is above 50°F.
5. What You Need for Adult Chickens
Once your chickens are fully grown they will need a bit less attention and won’t be such easy prey.

